GD130-TX(RX) ALL POSITION AUTOMATIC WELDING MACHINE
1. Structure overview and description
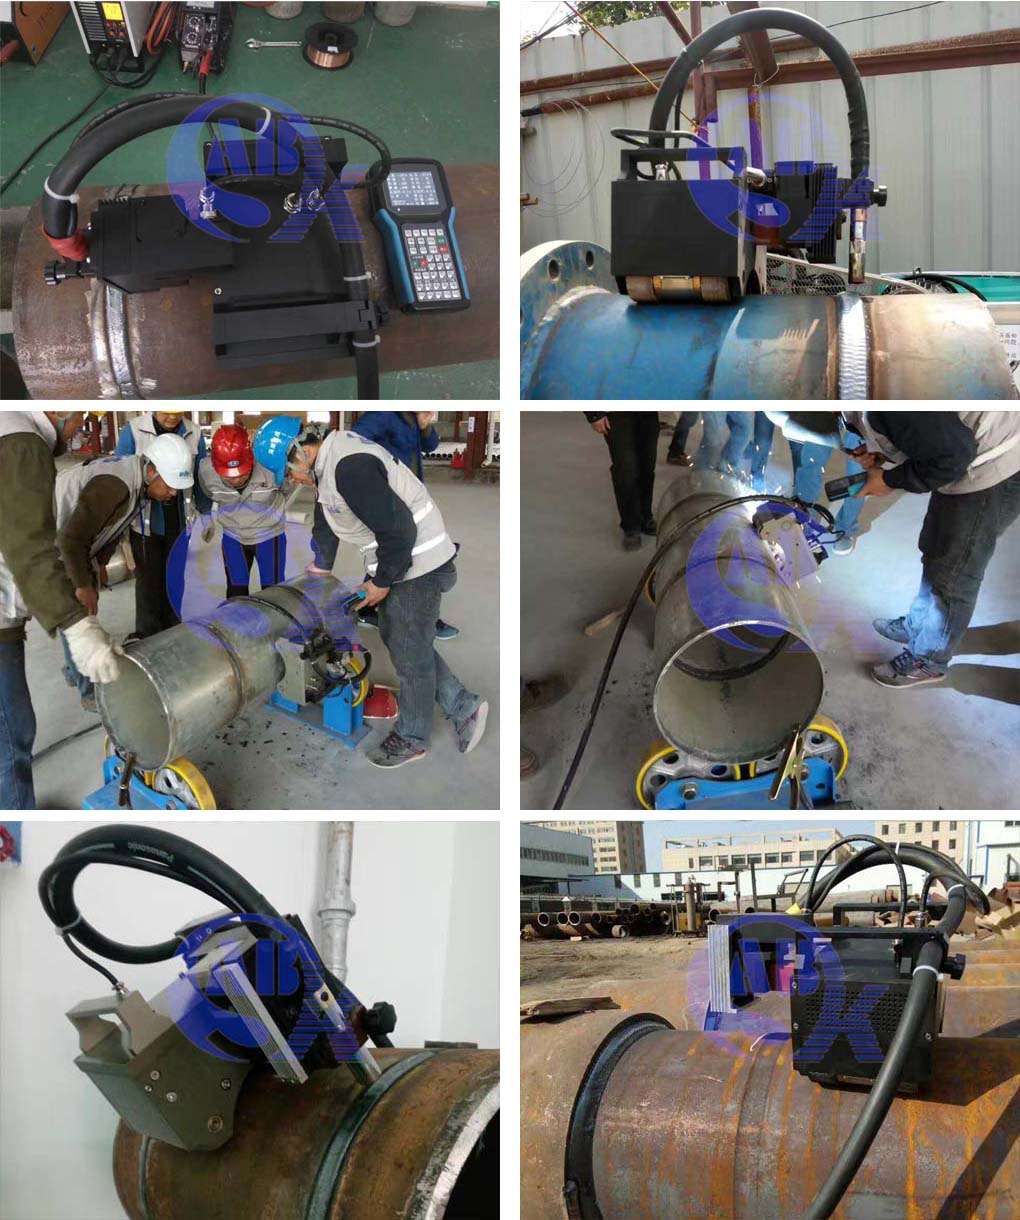
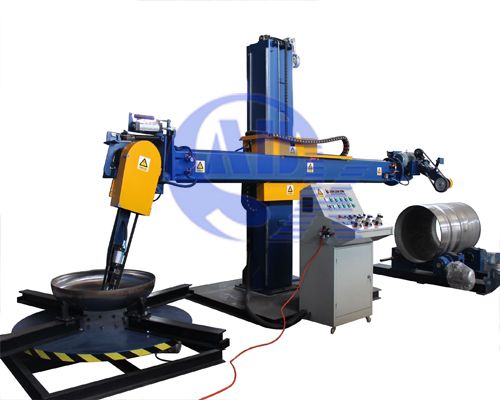
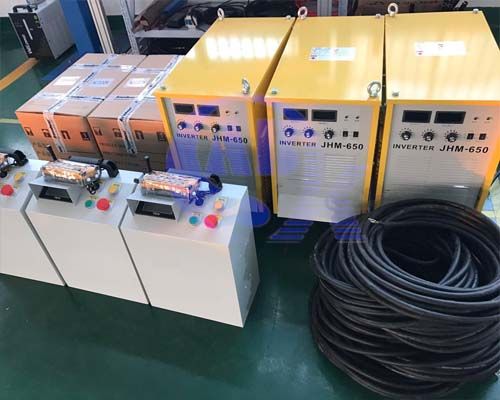
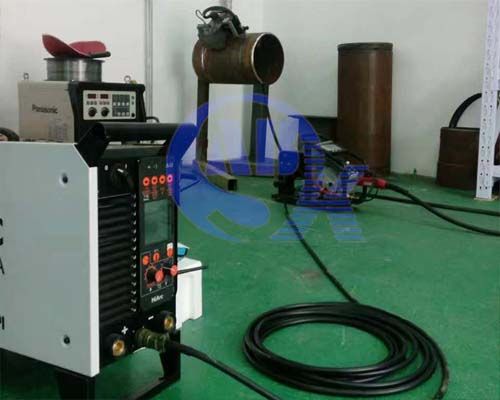
All position automatic welding machine for pipeline is composed of four parts: control system, welding trolley, welding power supply, wire feeding device and fittings.
• Control system function of all position automatic welding machine for pipeline:
Switch key: off state, long press 5 seconds boot, boot state long press 5 seconds shutdown
F1 key: press the serial number of the display system
F4 key: turn on the F4 button to press the screen, press the light screen again
Current key: increasing by "+" current, decreasing by "- -" current
Voltage key: increasing by "+" voltage, decreasing by "-" voltage
Wire feed: press start wire feed, release, stop wire feeding
Welding key: press start welding, press again to stop welding
Start key: press the start button, will be set in accordance with the parameters of the operation (swing, welding, trolley walking)
Stop key: press stop button will stop swinging, welding, car walking function
Car control key: press "open" to get off, walk, press "close", car stop
Welding speed key: press "+" car speed increase, press "-" car speed decrease
Positive key: the welding torch rotates clockwise
Reverse key: the torch rotates counter clockwise
Left: move the torch to the left
Right: move the torch to the right
Front key: the car runs forward
Rear key: the car runs backward
Upper key: fine adjustment of welding gun
Lower key: fine adjustment of welding torch
Swing key: the welding gun swings left and right, press again to stop
Swing speed key: press the "+" key to increase the speed of swing, press the "-" key to swing, the speed decreases
Swing width key: press the "+" button to swing wider, press the "-" key to swing the width narrowed
Left Key: press the "+" button to swing, stay on the left for a long time, press the "-" key to swing on the left, the length of stay is short
Right Key: press the "+" button to swing on the right, stay for a long time, press the "-" key to swing on the right, stay short
Step key: press the "+" button in the swing, according to the speed of the left and right quickly, press the "-" key in the swing, according to the speed of the left and right slow
• All position automatic welding machine walking trolley for pipeline
Applicable diameter: more than 130MM
Applicable wall thickness: 4-50MM
Applicable material: carbon steel, stainless steel, alloy steel, low temperature steel, etc.. [stainless steel has matching track]
Suitable for welding: all kinds of pipe welds, such as pipe - pipe welds, pipe - bend welds, pipe - flange welds, and (if necessary, the use of false pipe transition connection)
Drive system: stepper motor wheel, worm and worm drive
Speed regulation: key add and subtract speed regulation;
Mode of adjustment: electric regulation;
Swing system: the company's proprietary technology products / stepper motor swing;
Control system: the company's proprietary technology products, digital control
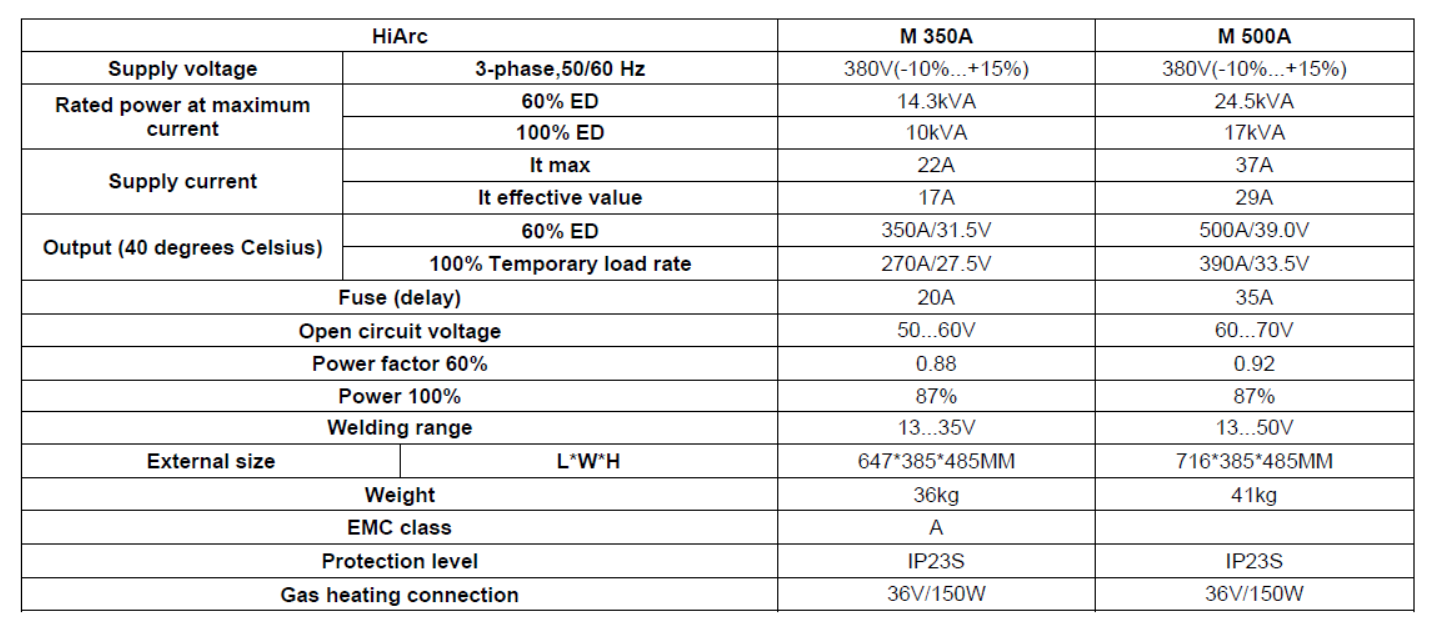
• Welding power supply for all position automatic welding machine of pipeline
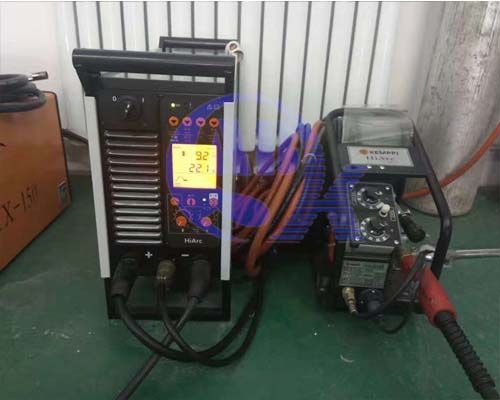
The control panel provides the following control functions:
1.ON/OFF indicator
2. overheating indicator
3.MANUAL or AUTOMATIC mode selection
4. selection of wire material type (unified mode)
5. wire diameter selection (unified mode)
6. protection gas selection (unified mode)
7. function selection of arc filling pit
8. protection gas detection
9. display
10. select current / feed speed display (unified mode)
11. select the 2T/4T torch operation mode
12. setting knob for adjusting wire feed speed or welding current (only for arc filling pit)
13. setting knob for voltage or arc length (only for arc filling pit)
• Wire feeding device for all position automatic welding machine of pipeline
Wire feeder can use 0.8 to 1.6 mm diameter filler wire, the diameter of wire plate can be as high as 300, wide 105mm. When choosing filling wire, remember that the melting point of welding wire is approximately the same as that of welding base material.
Be careful! When replacing the filler wire, be sure to check the shape of the wire feed wheel, the wire roller groove, the size, and whether the wire guide tube matches the wire used. It is also necessary to check whether the polarity used is applicable to the filler wire.
The user can adjust the pressure of the feeding wheel on the wire feeding mechanism so as to make the filling wire smoothly and smoothly enter the wire guide tube and the welding torch.
If you need to increase the wire wheel pressure, you can turn the black pressure control knob clockwise.
If you need to reduce the wire feed pressure, you can turn the black pressure adjustment knob counter clockwise.
The adjusting knob is engraved with the pressure regulating range. The greater the pressure applied, the more striking the scale indicated.
For hard carbon steel and stainless steel filler wire, make sure the set pressure is large enough to prevent the filling wire from falling out of the wire feed wheel.
Be careful! Too much pressure will lead to deformation and damage of the filler wire, and it will also cause friction or damage to the drive wheel bearing, thus shortening its service life. There are two grooves in different sizes in the drive wheel. The user can open the fastening screw of the driving wheel and the groove needed for the rotation of the rotating driving wheel. The usual groove faces outward.
2. Operation procedure
1) Place welding car on pipe or workpiece and add two lines;
2) Press the drop button on the remote control panel on the operating panel. After the torch is separated from the workpiece 10-15mm (usually 10 times of the wire)
3) Press the buttons on the remote control panel to push up or down;
4) Press the button to swing on the remote control box, look at the weld torch swing width; such as swing swing speed or width is not enough about the timing is not enough, according to the swing speed, swing width on the remote control box, left, right and to adjust
5) The welding current, voltage, and the speed of the welding trolley are adjusted to the numerical value of the process parameters;
6) According to the groove width of the weldment, determine whether to swing (groove width, press the swing button, adjust the swing speed, swing width, left and right timing, narrow groove, adjustable, small swing or non swinging welding);
7) Press the direction of welding, press the box on the positive and reverse, to be welded car rotation, press the welding key;
8) Before welding, there are three steps. First, adjust the swing parameters and the height of the welding torch; second adjust the parameters of the car and walk; third, adjust the current and voltage in welding;
9) In the welding process, notice whether the welding gun is aligned with the welding center. 10) If there is deviation, adjust the welding torch in time;
11)If the torch to the left, press the remote control box to adjust the right; to the right, press the remote control box to adjust the left; [welding car in the opposite direction, the side of the anti regulation]
12) After welding, remove the welding car and clean the weld surface.
